Monday 12 January 2015

Design of the Pocket to take the Spoke


Preparing the Spokes


We bought twelve 180cm (6ft) 45mm x 45mm lengths of timber. These needed to be planed down to form a round pole tapering to 3cm diameter at the pocket end. The other end remains square and will be shortened to fit snuggley into the hub. Three done nine to go!

Monday 5 January 2015

Finishing the Scalloped Edge
January 5, 2015
Scalloped Roof Edge


Sunday 4 January 2015

Attaching the ring to the top of the tent. 


Diagram showing how we reinforce and attach the steel ring at the top of the roof.

Saturday 3 January 2015

roof Panel construction of our Medieval Tent


Roof Panel Construction

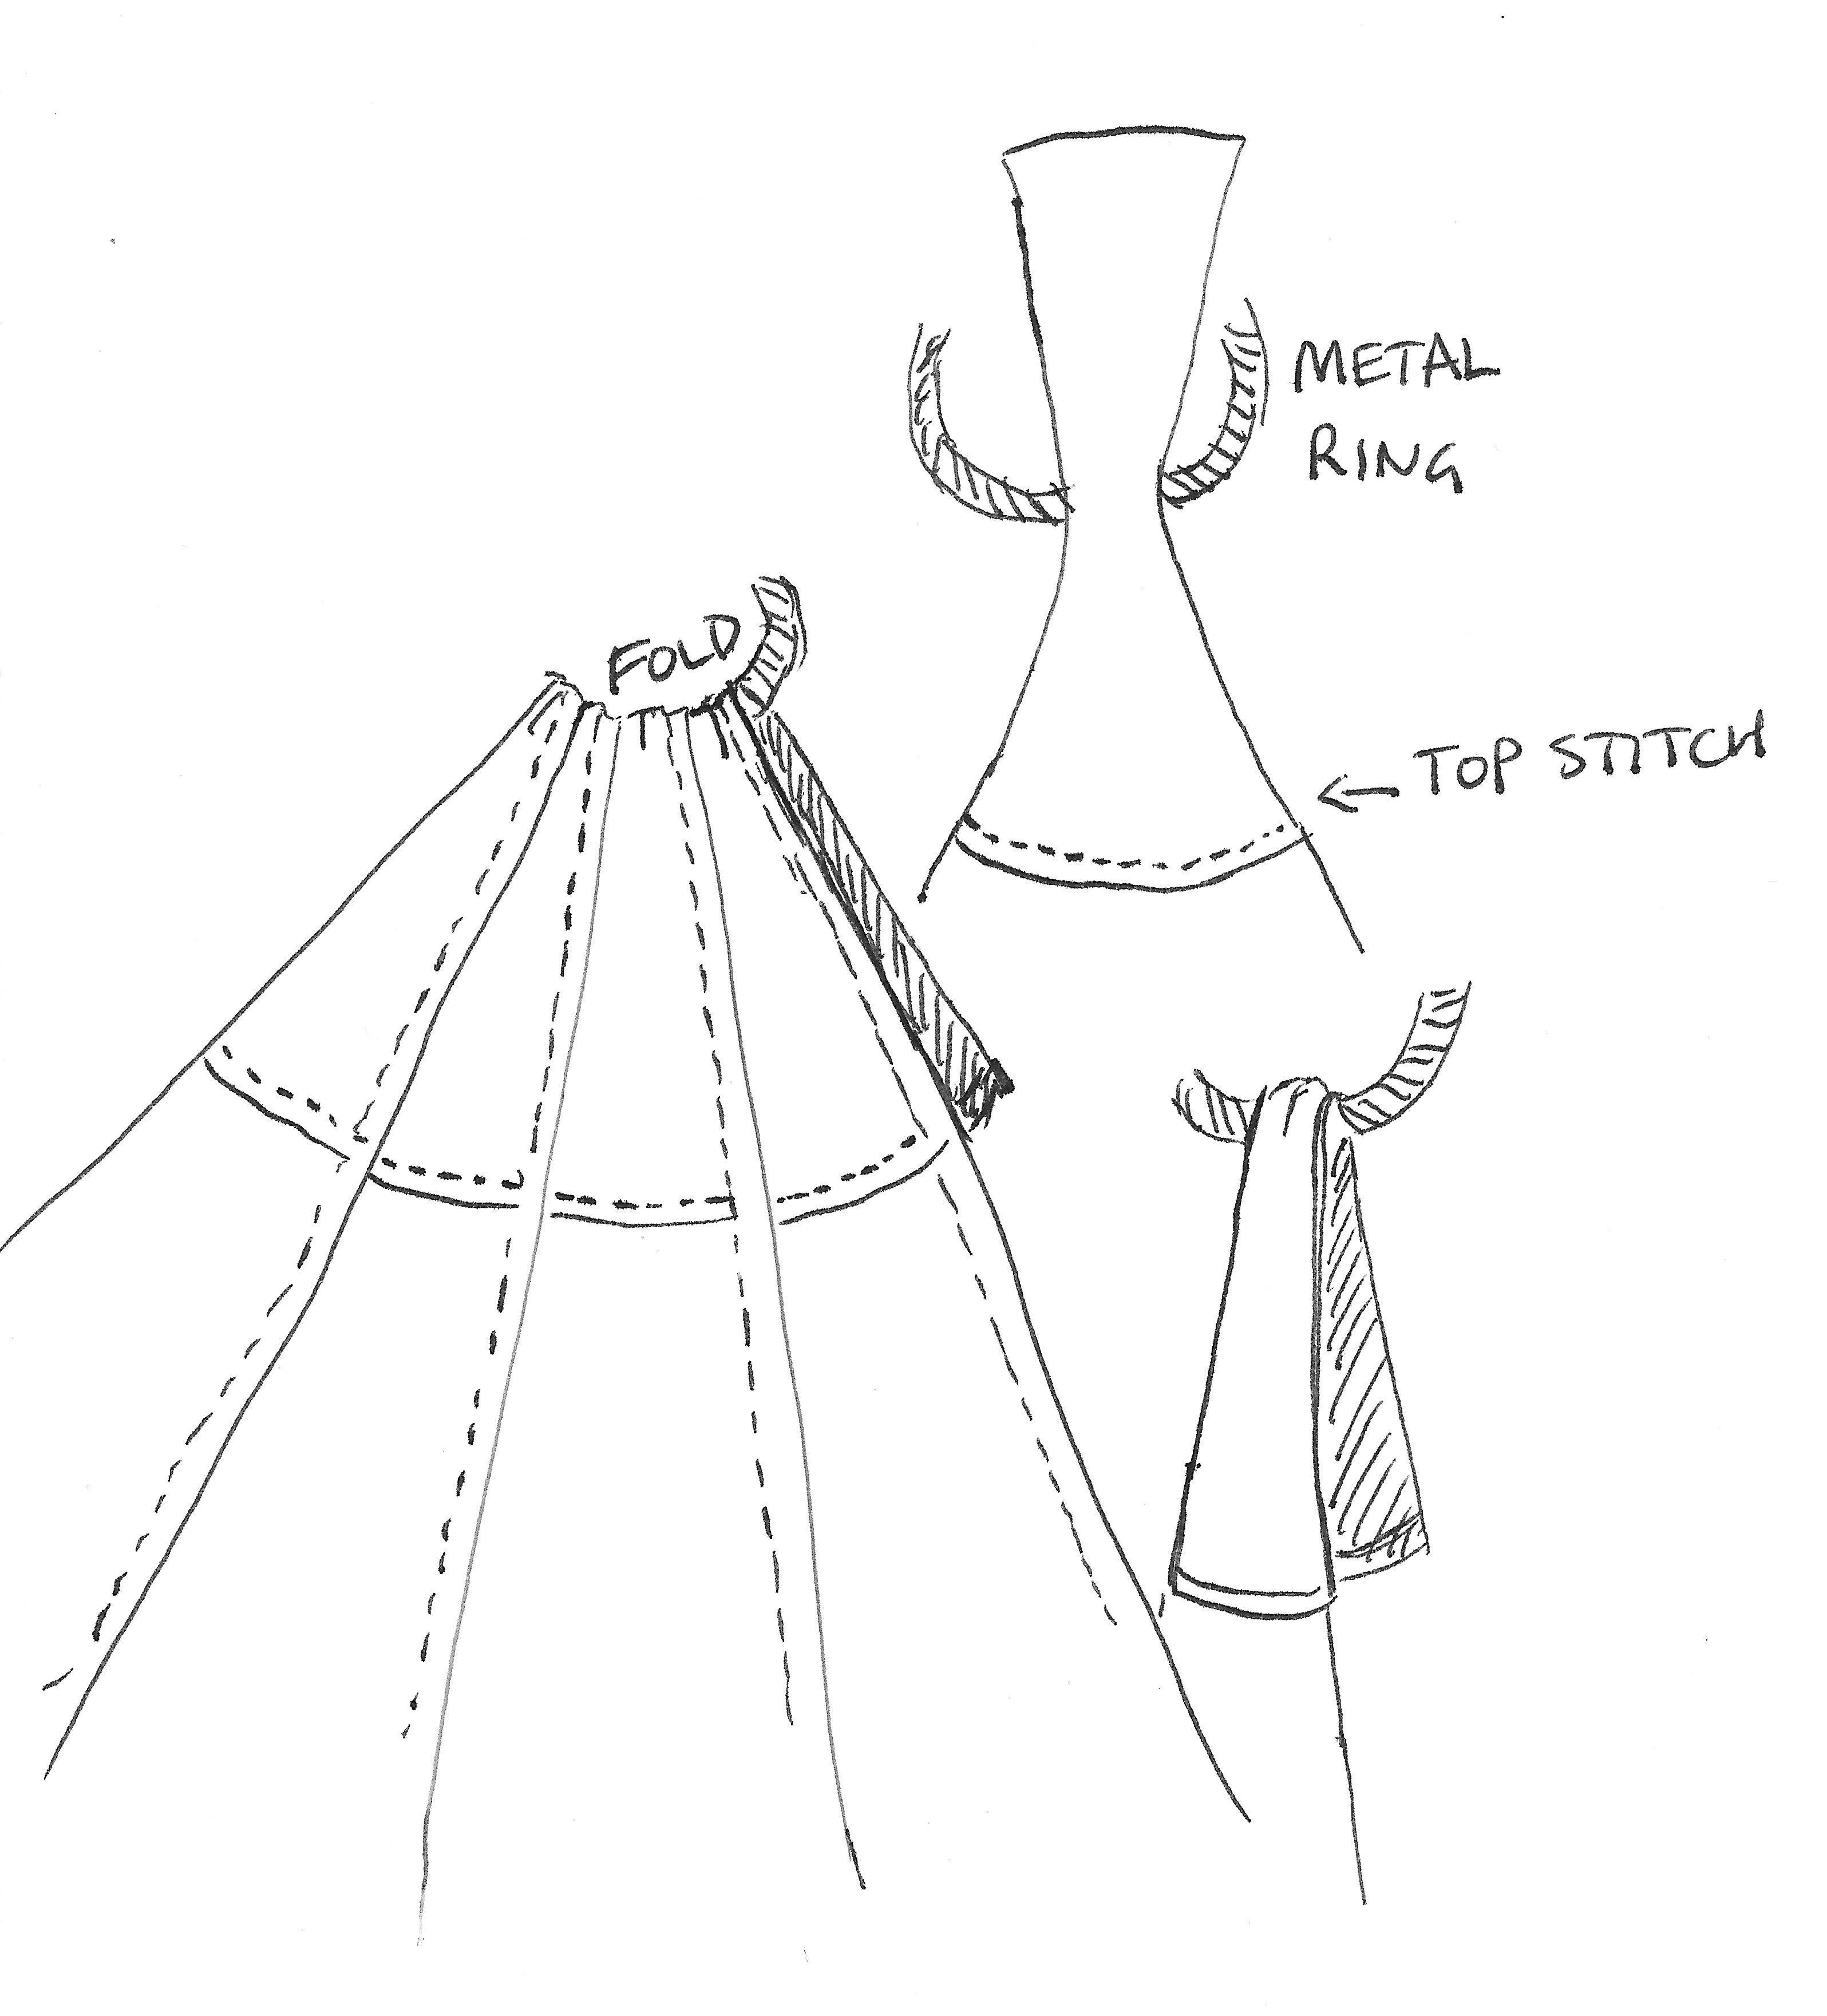
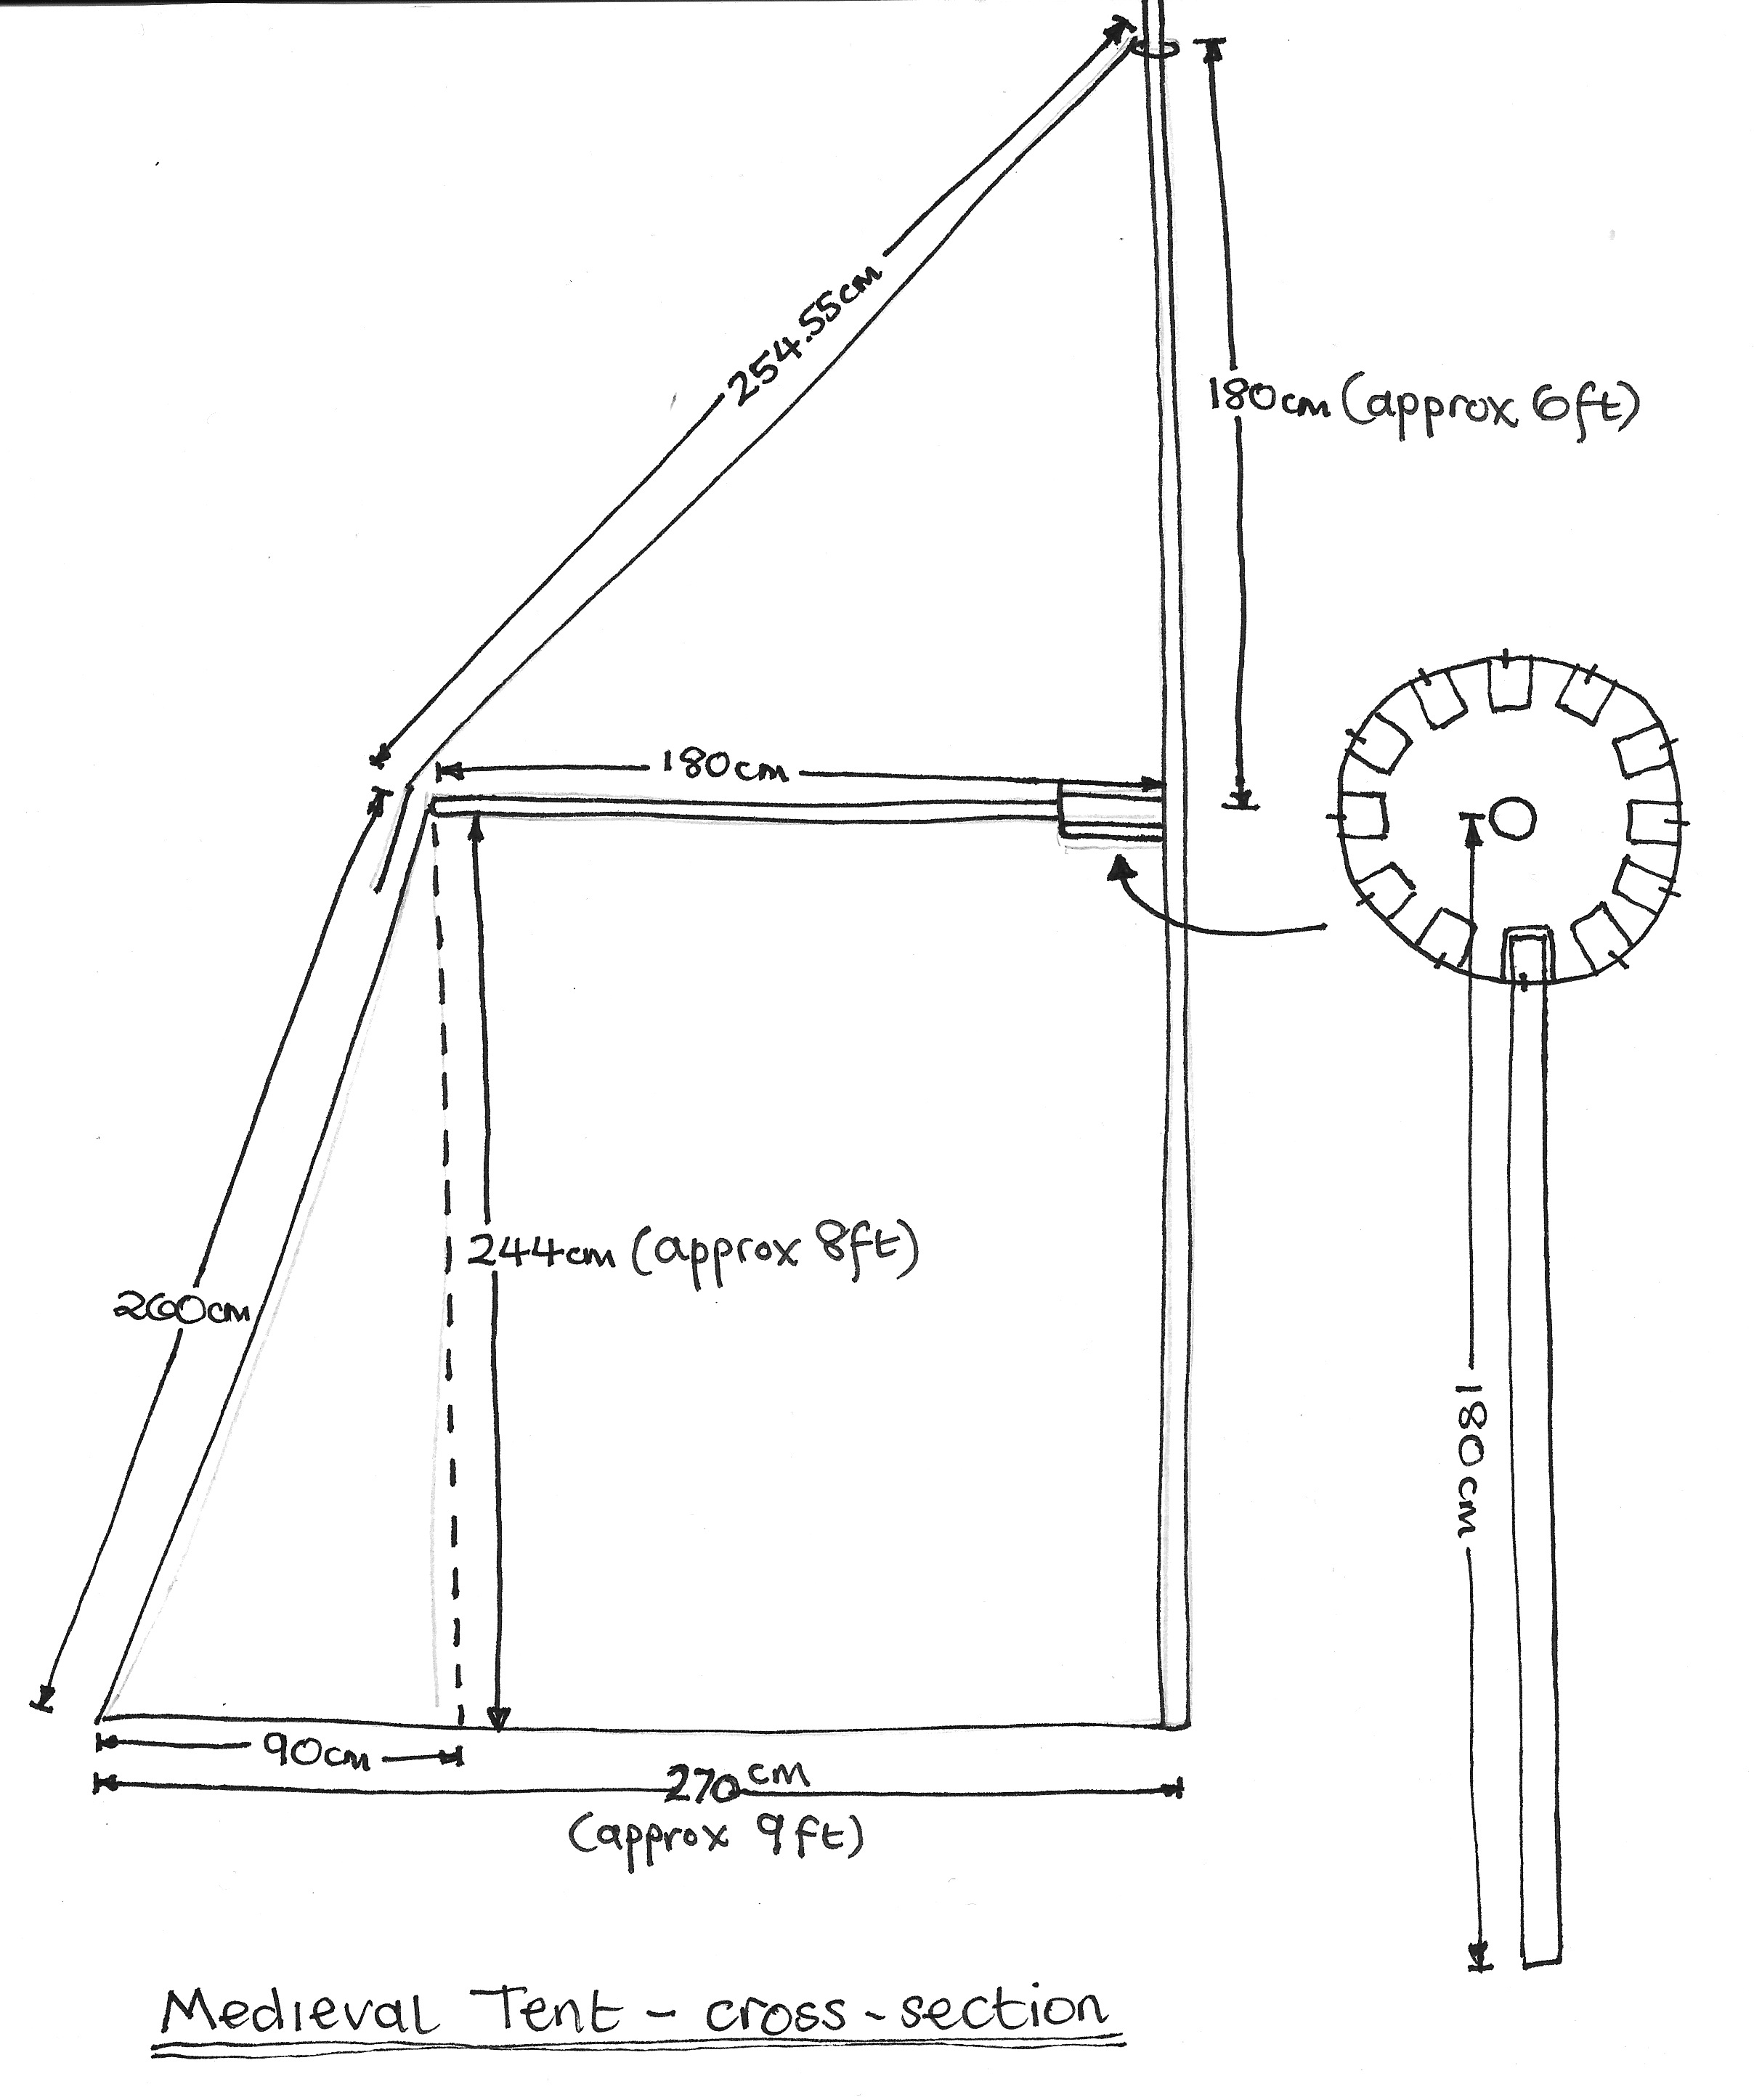
Having cut out the twelve roof panels using a the paper template made from our measurements as show on the diagram below, we now need to finish the scalloped edge and reinforce the top where the ring to support the roof on the pole will be fixed.


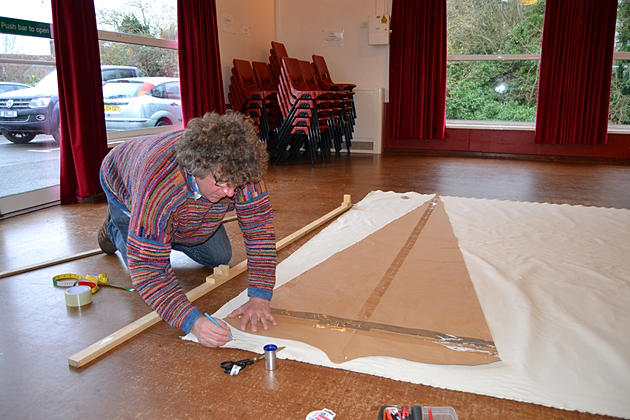
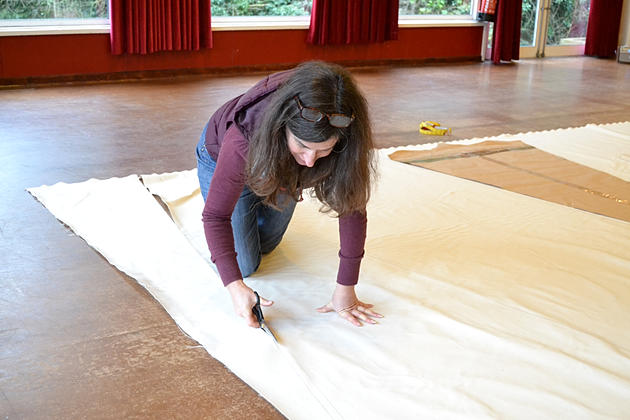
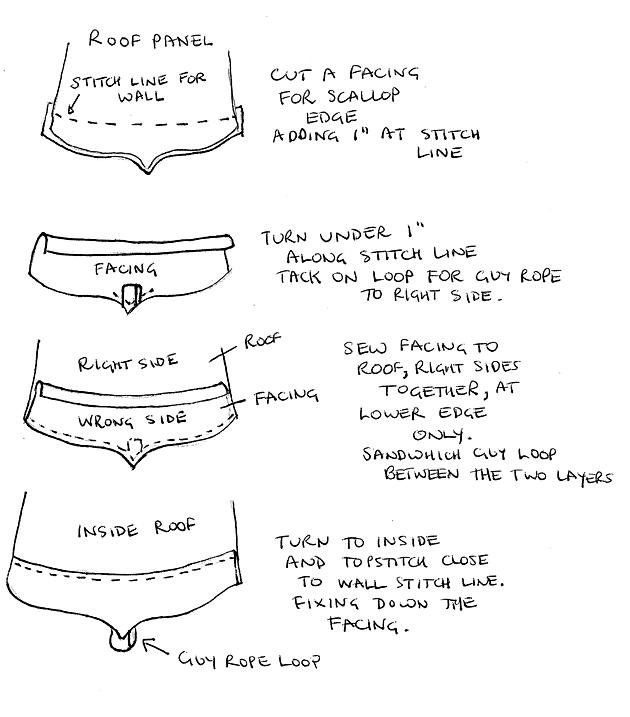
We have decided to line the scalloped edge to provide some extra strength when attaching the tapes and eyelets for the guy ropes and also to bulk it out so that it sits slightly proud of the main body of the tent. This involves carefully marking each panel, pinning these together, marking on the 2.5cm (1 inch) seam allowance and cutting out. Each piece will remain pinned to its own roof panel, twelve in all.
These are set aside.
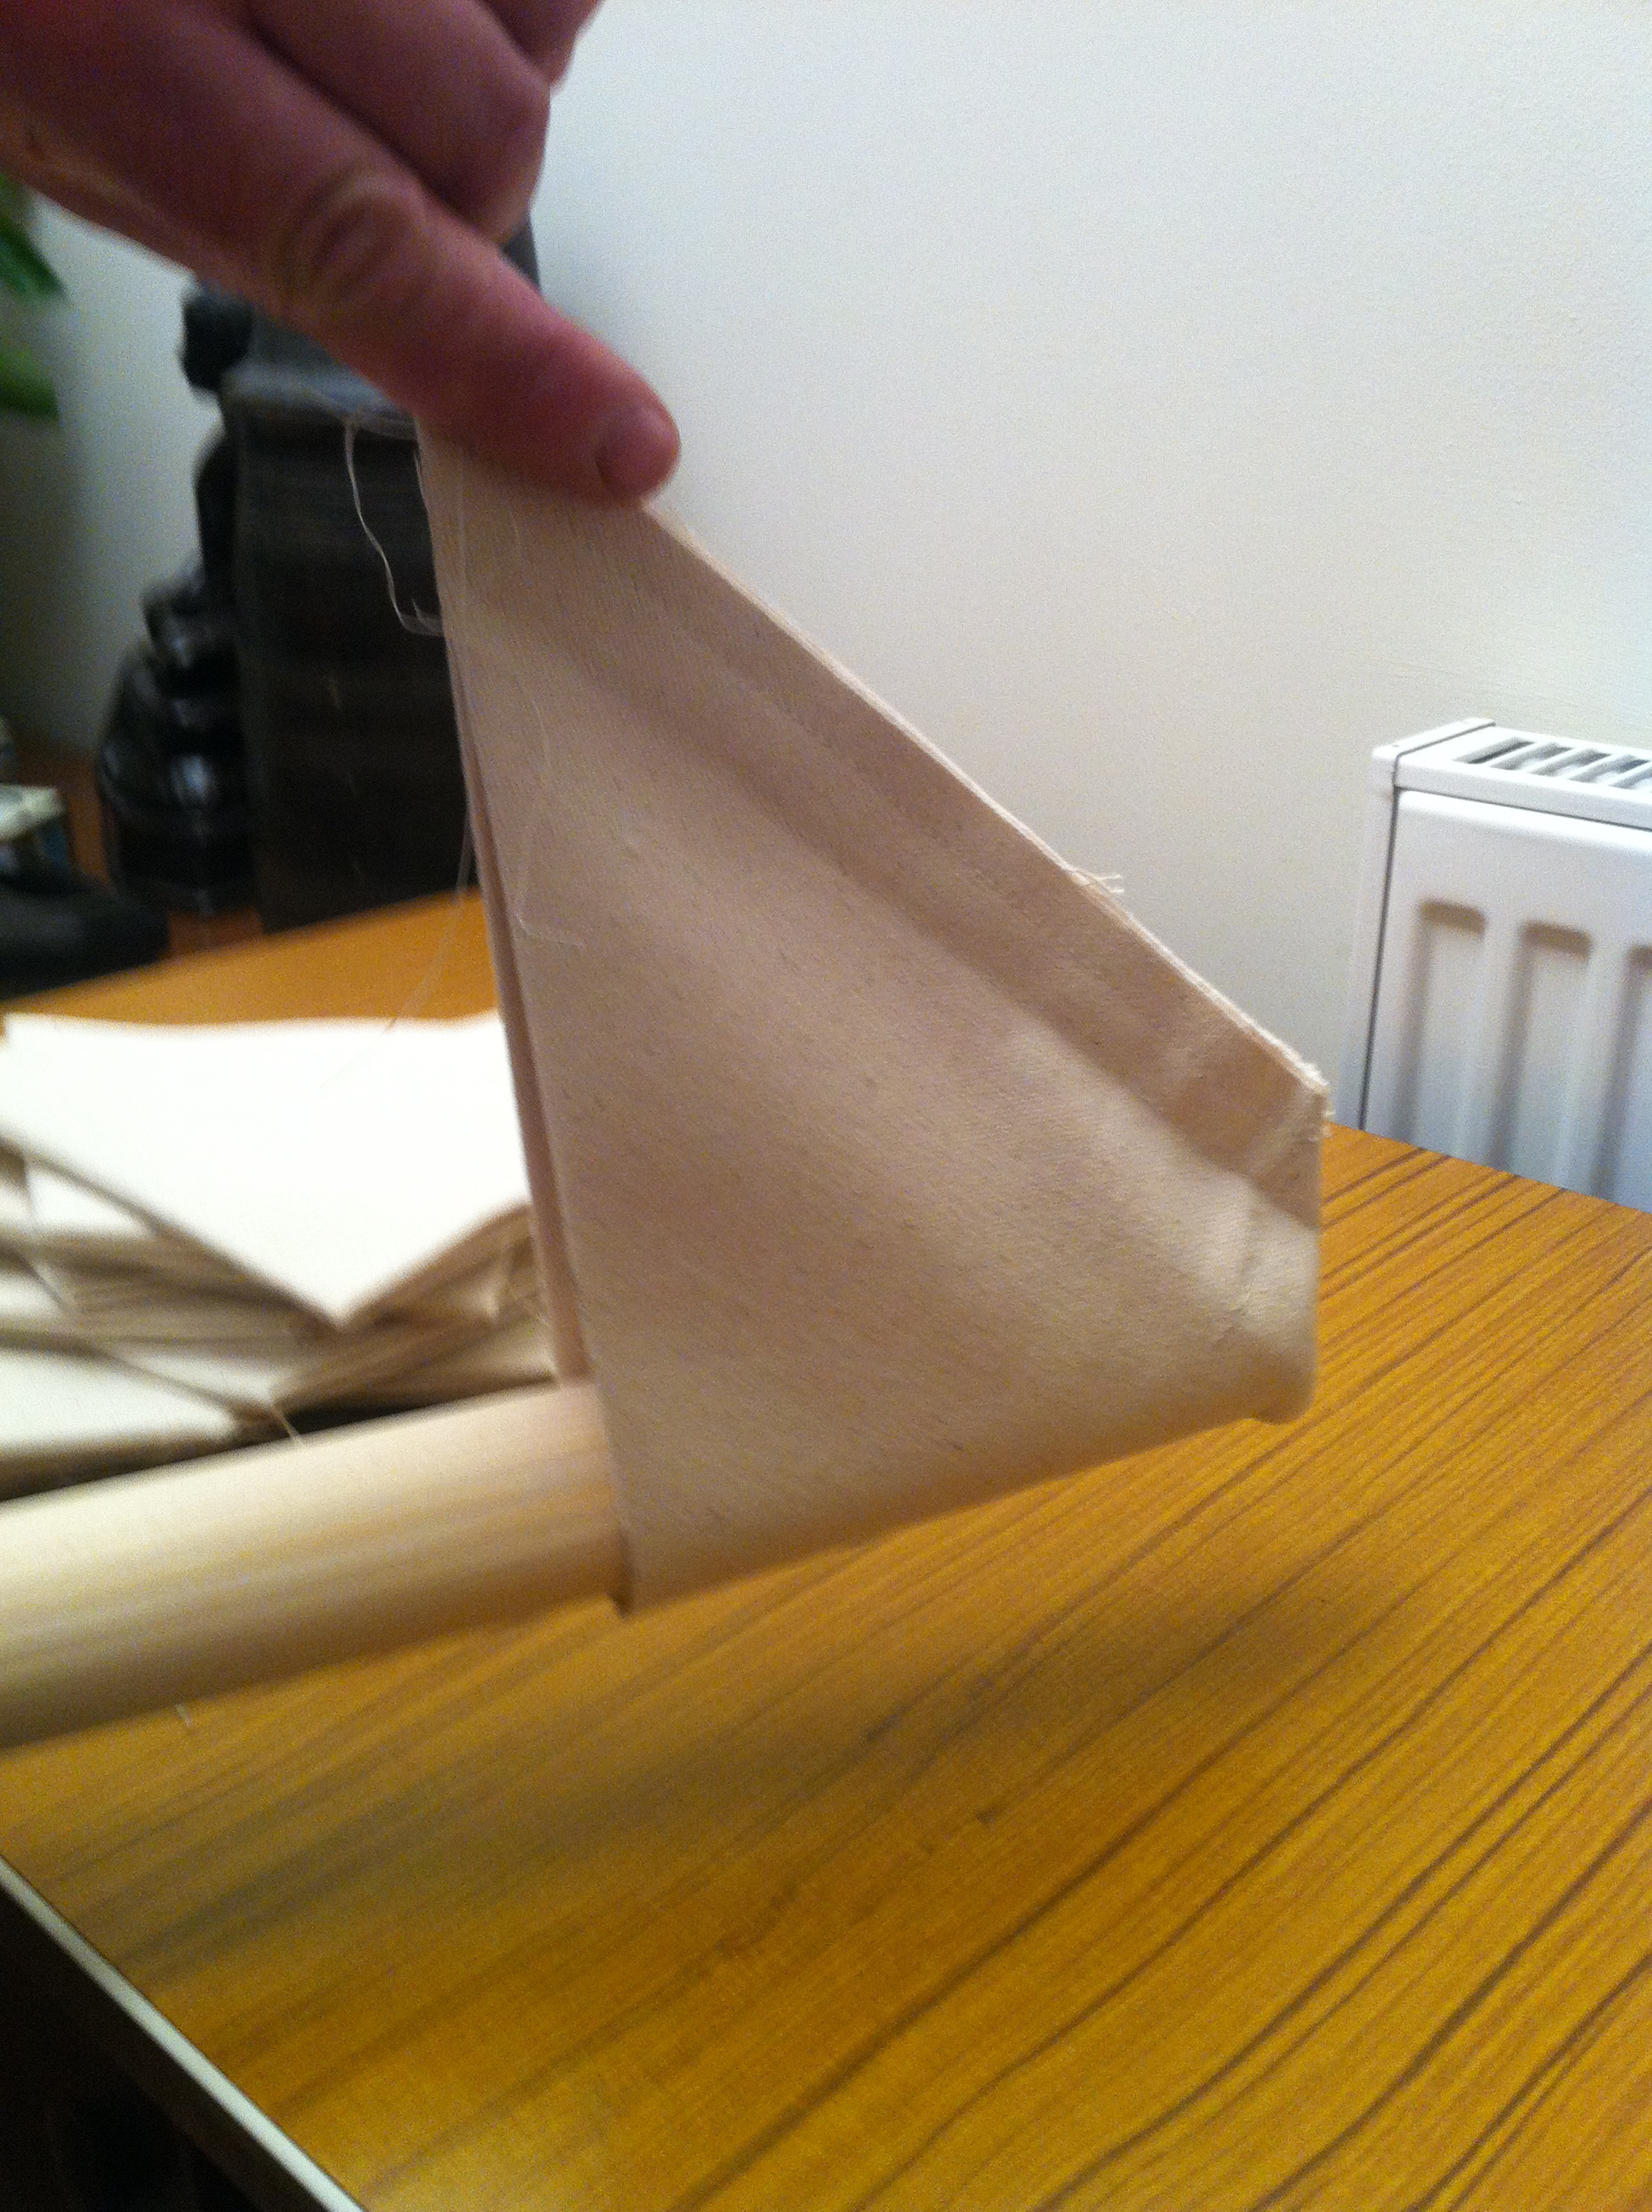
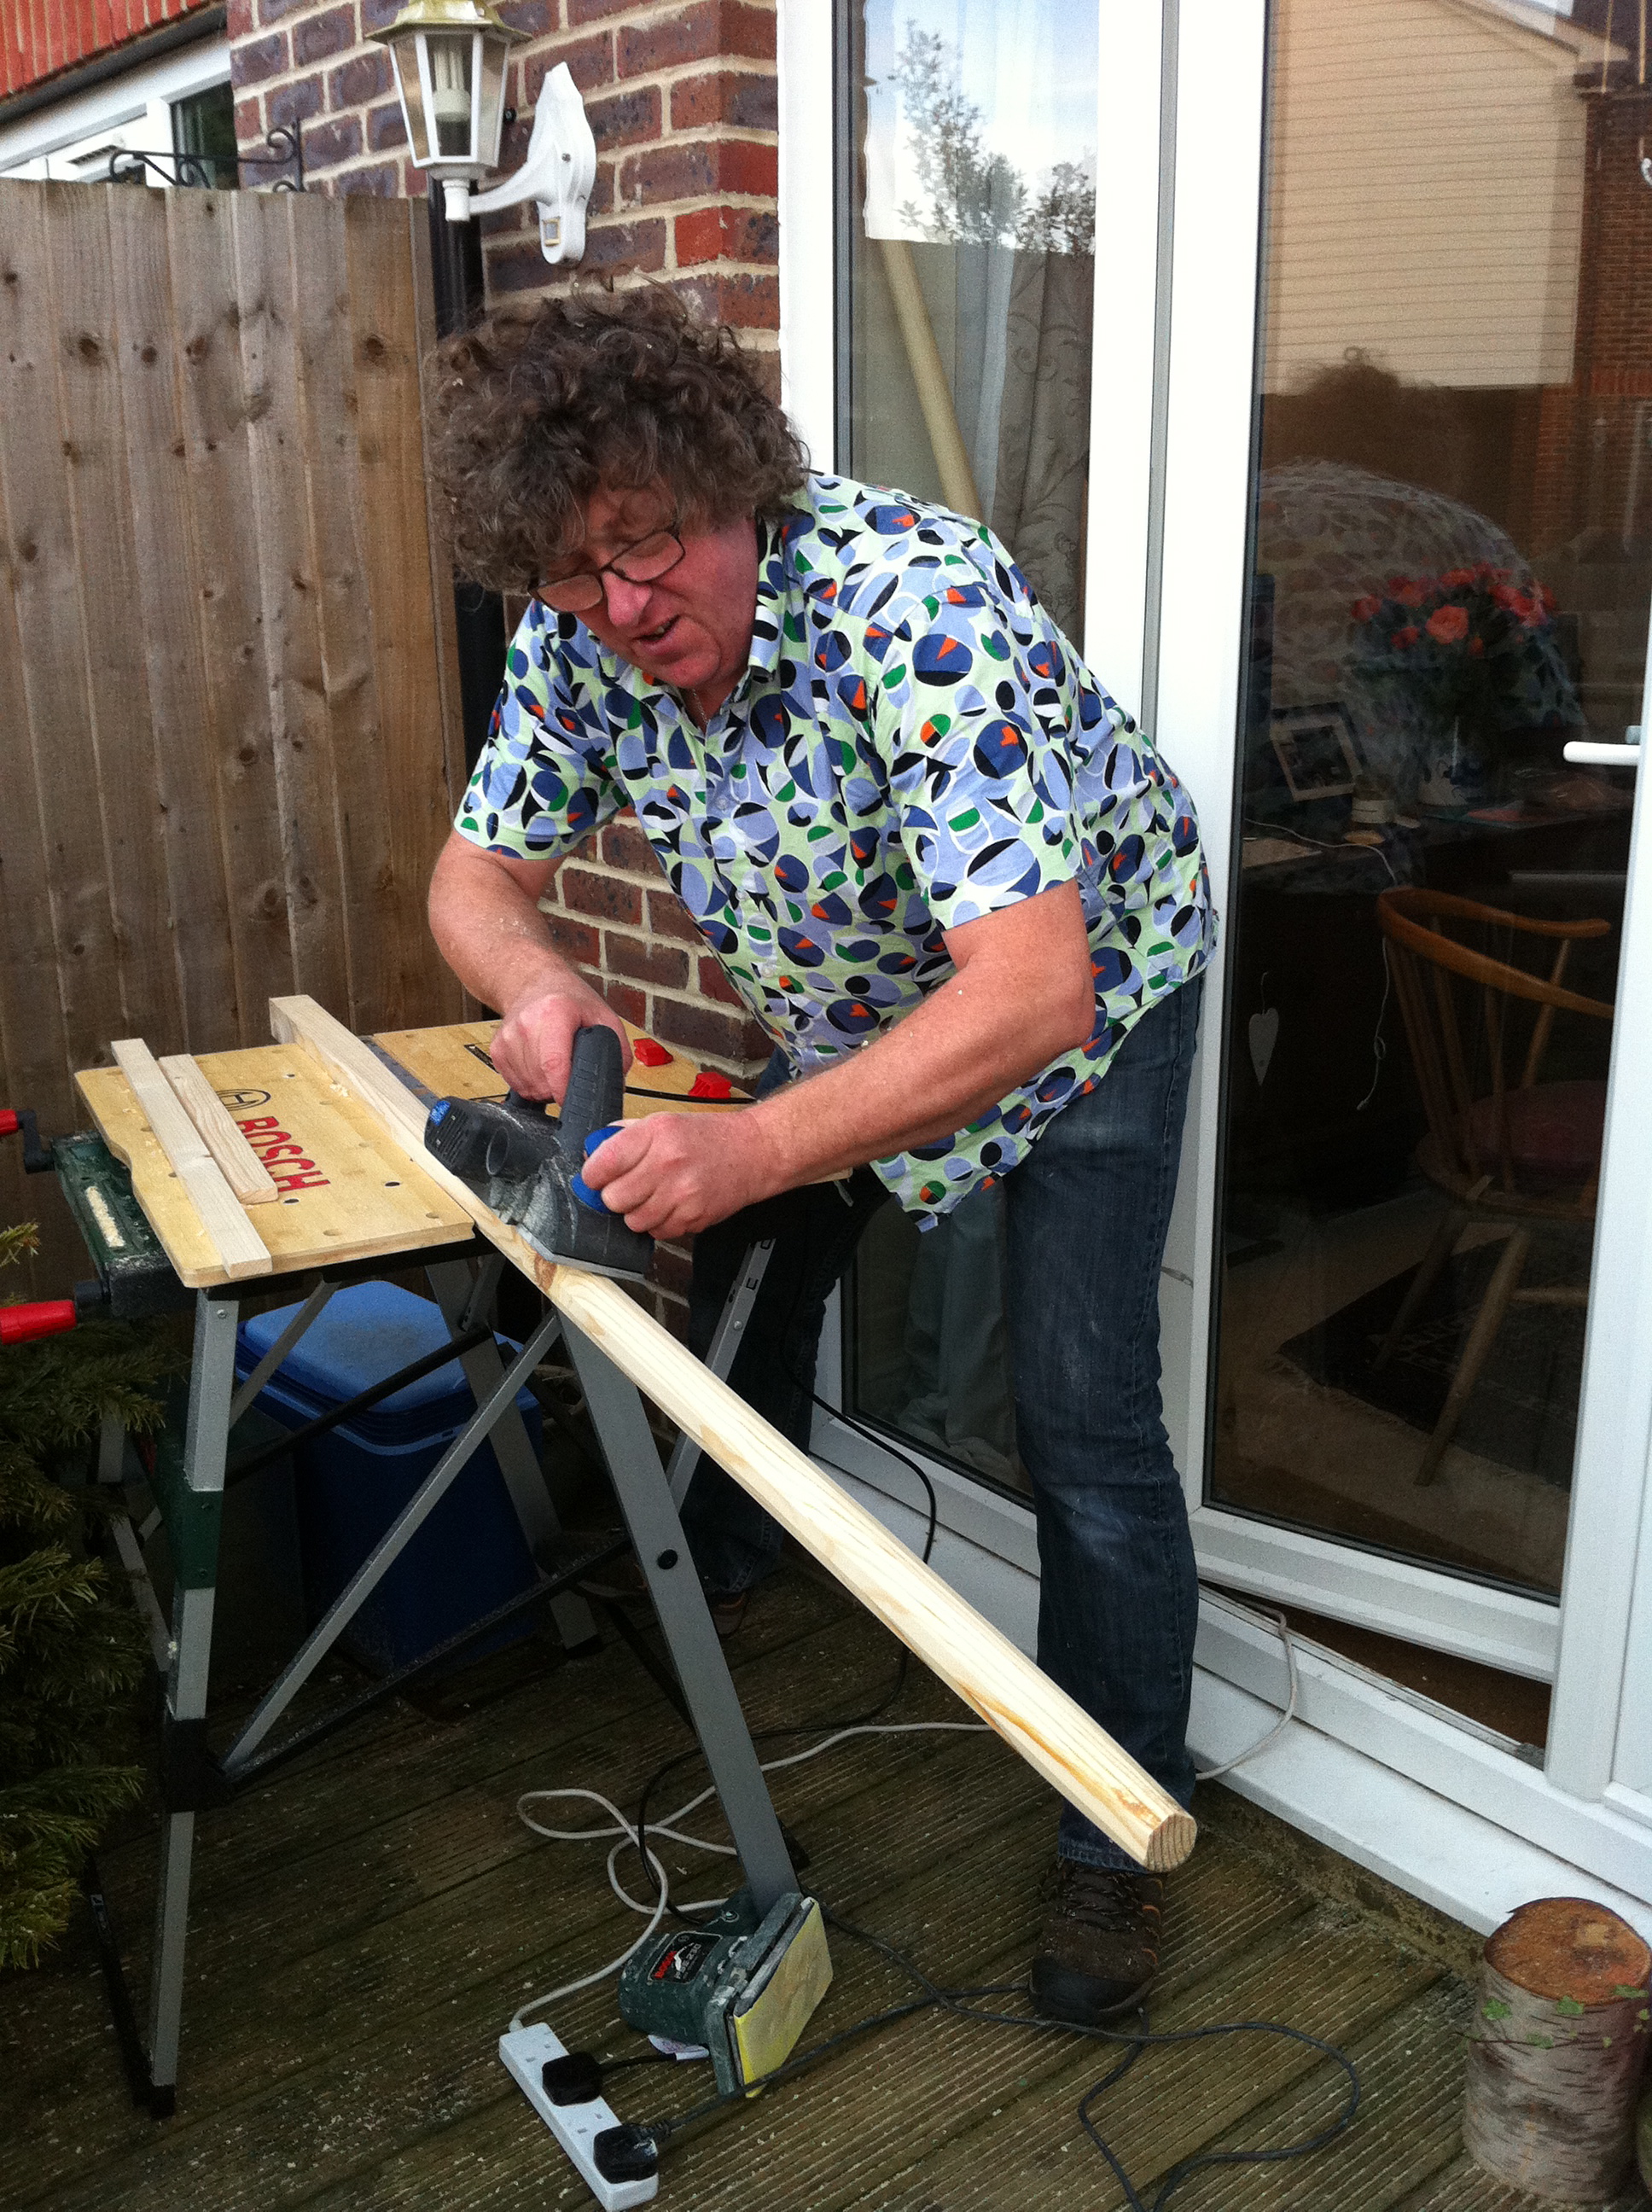
To reinforce the points of the roof panels to take the ring which will fit over the centre pole it is necessary to add fabric to pass through this ring folding it back down the panel and then hand stitch it on. We have found, in an ironmongers, a steel ring measuring 72mm internal diameter which we have calculated will take the fabric reducing the diameter down to approximately 50mm. The centre pole will need to be sanded down reducing its diameter from 75 to 50mm creating a taper to slide the ring onto.


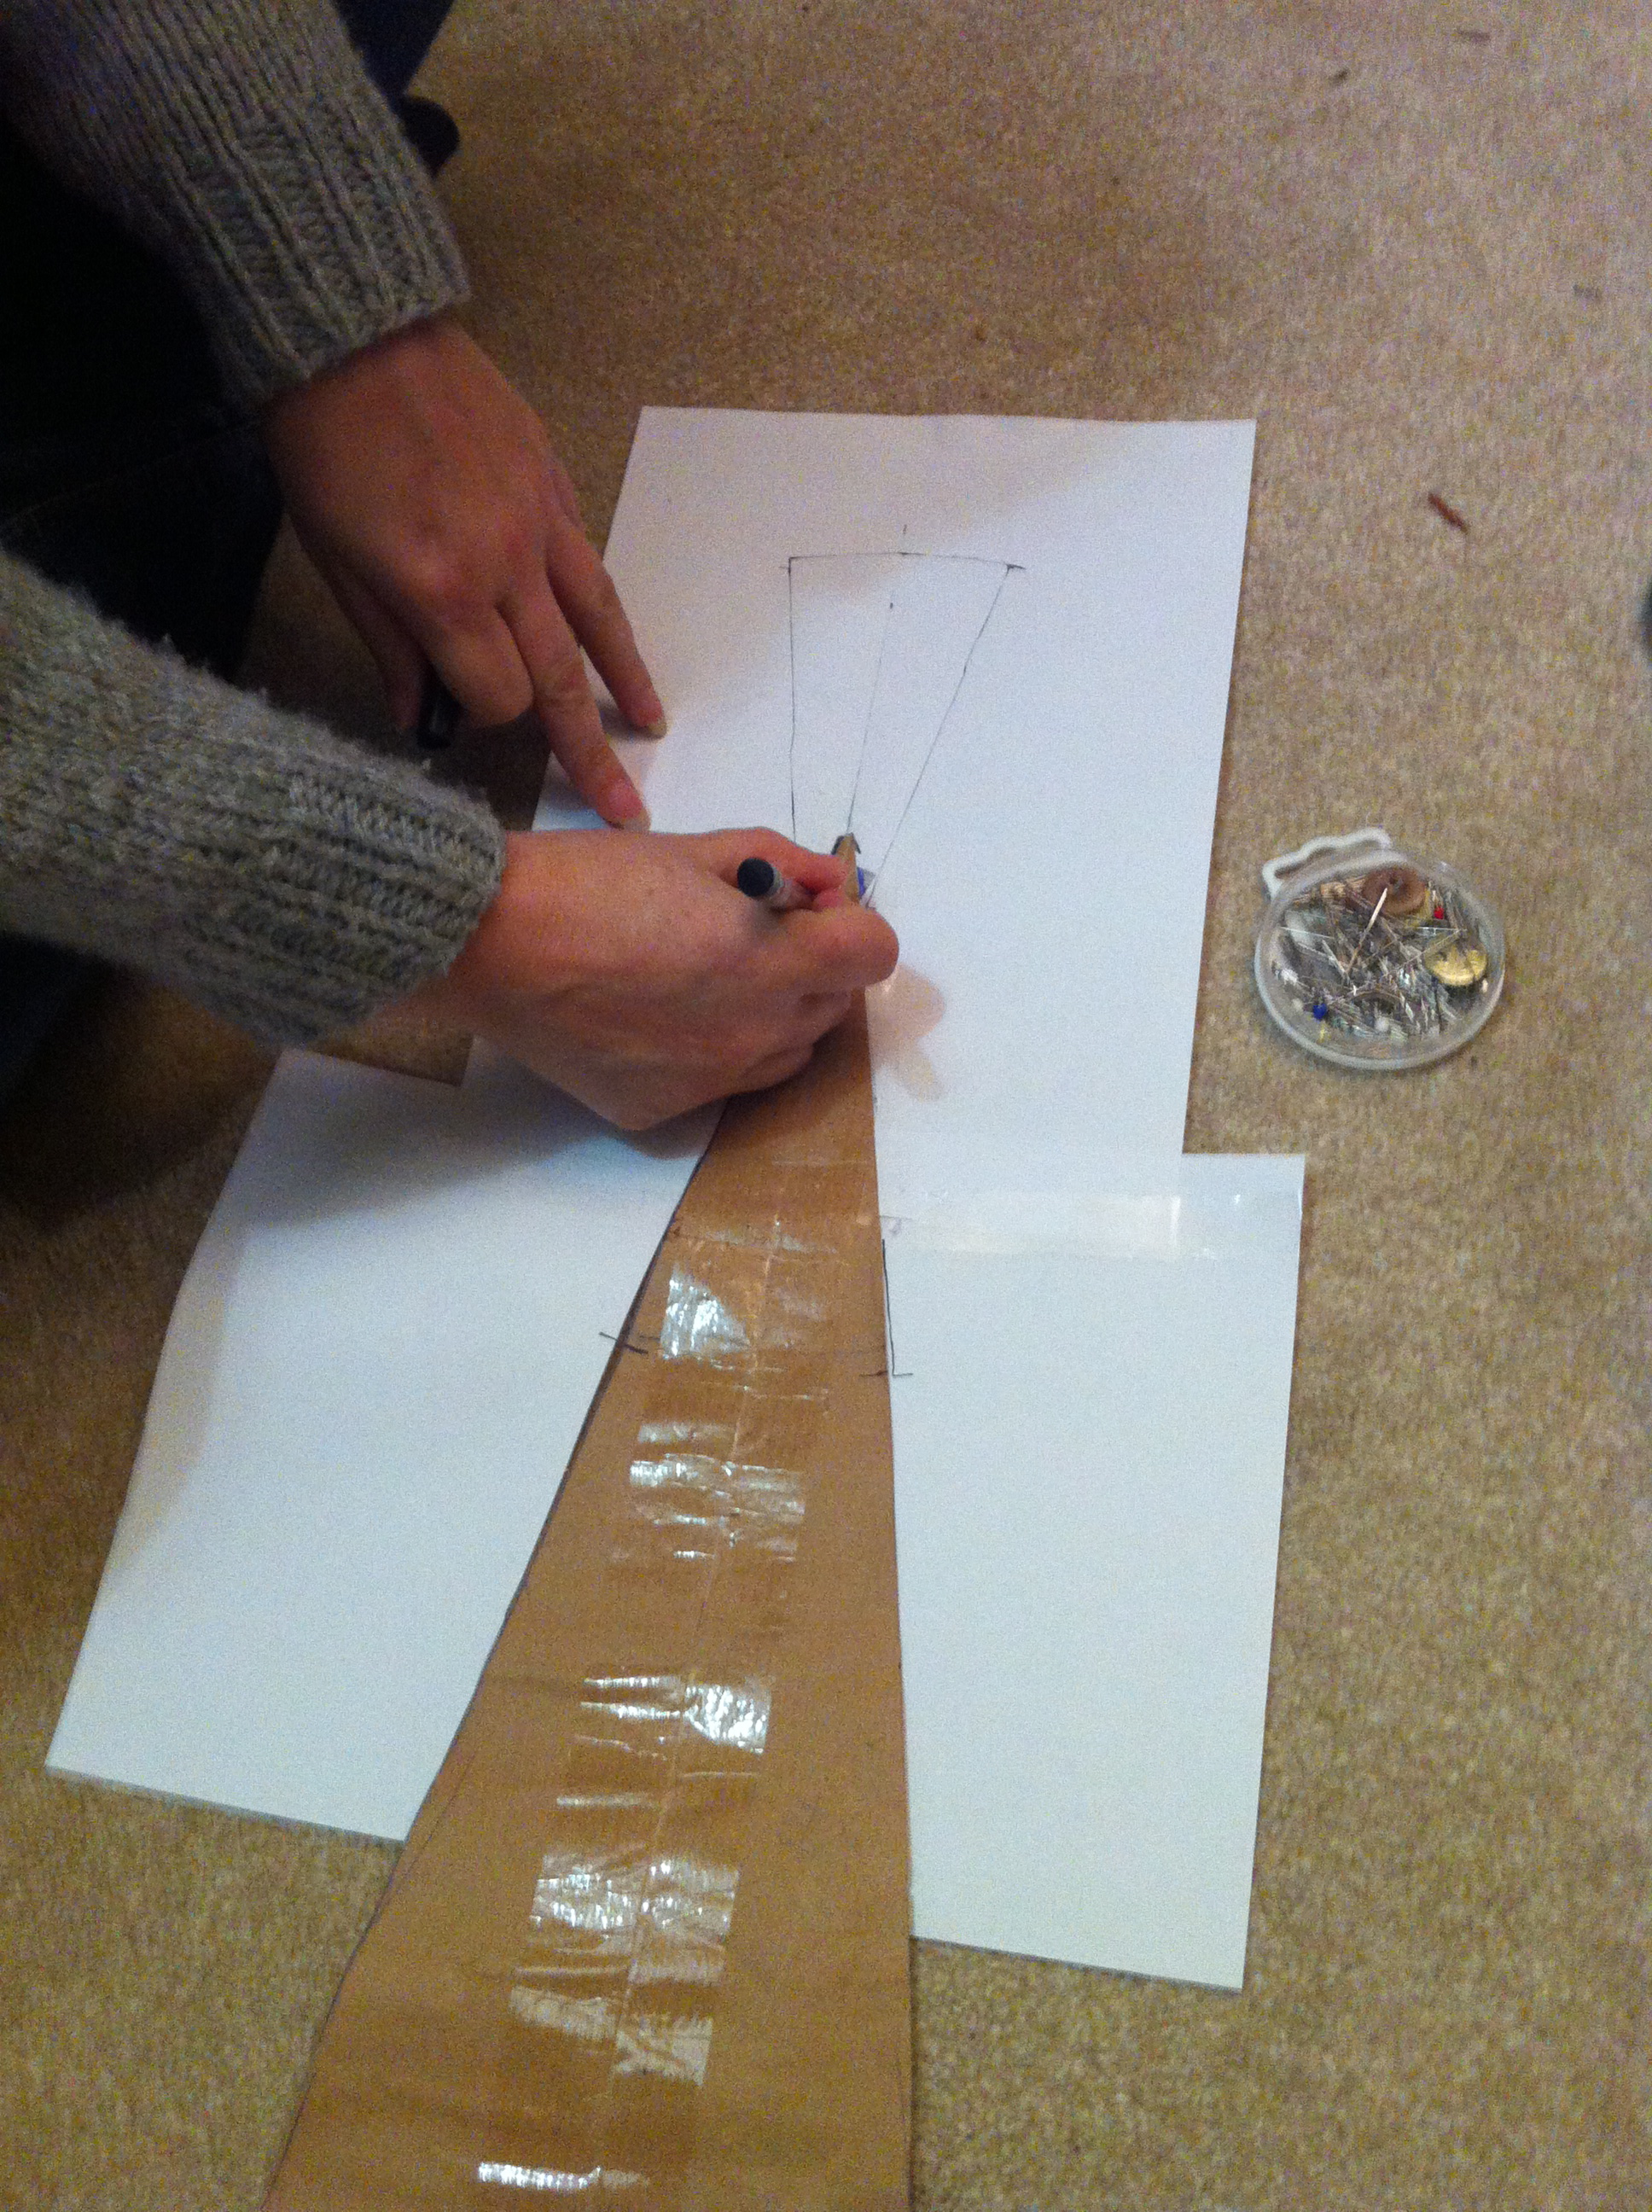
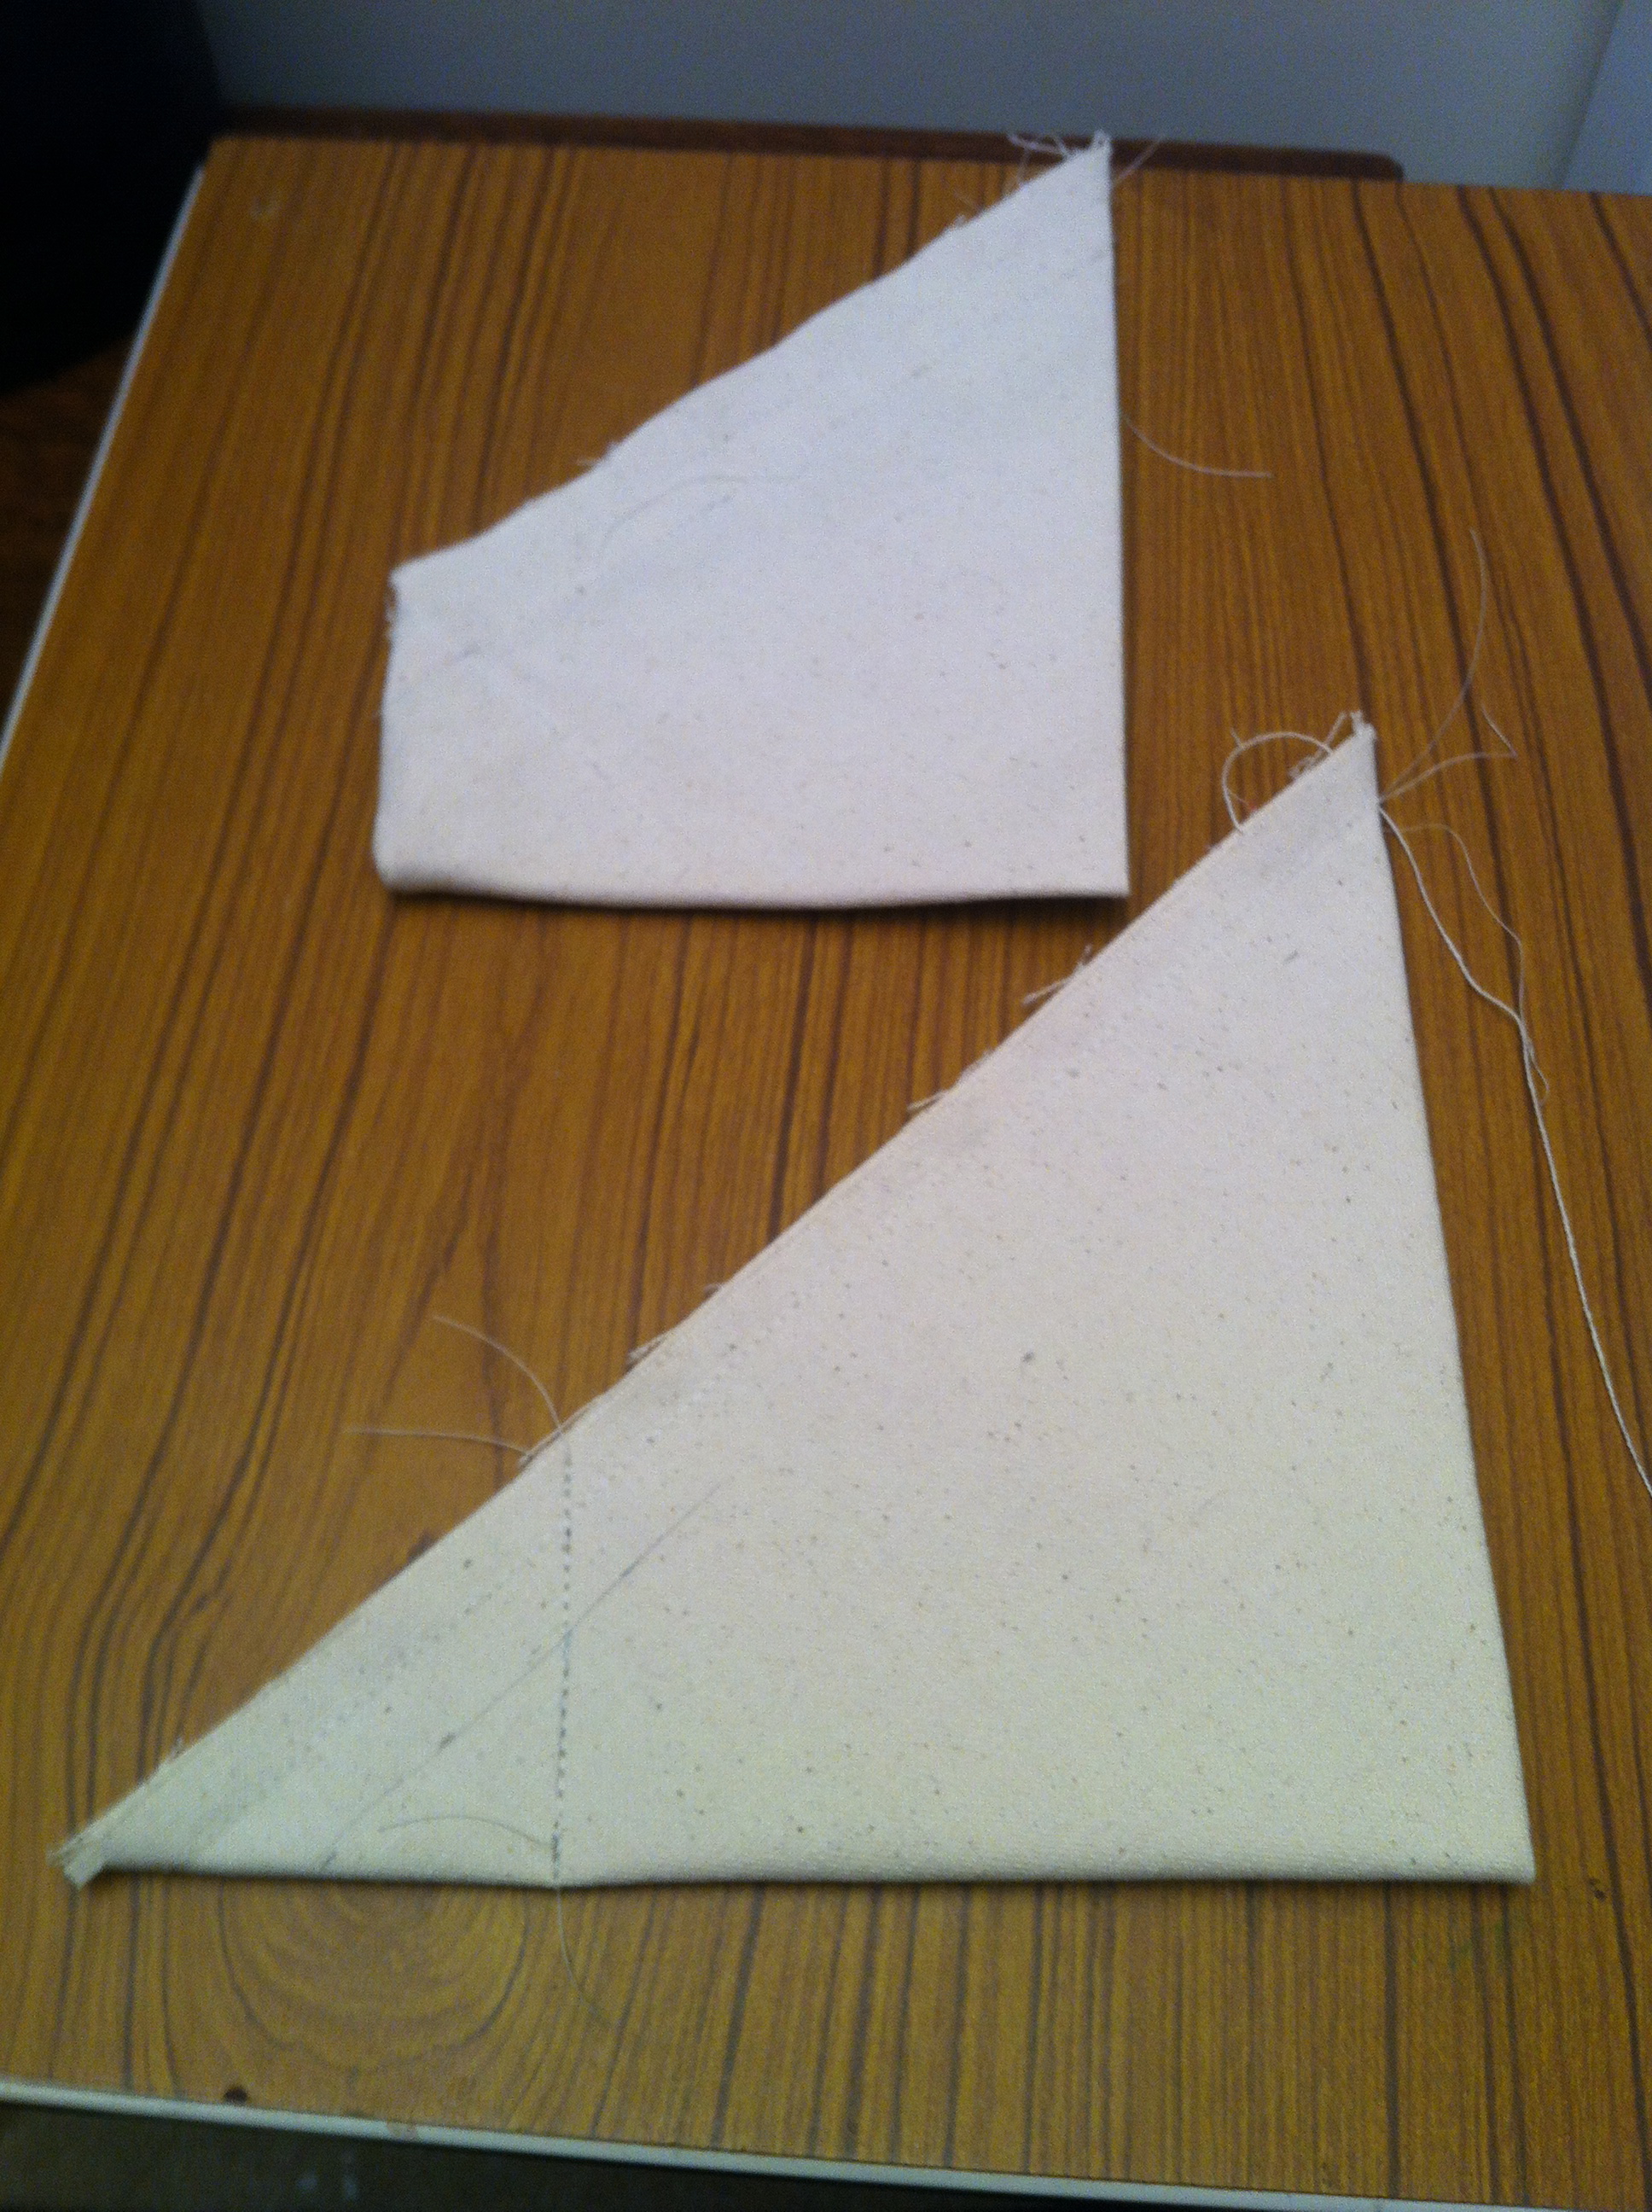
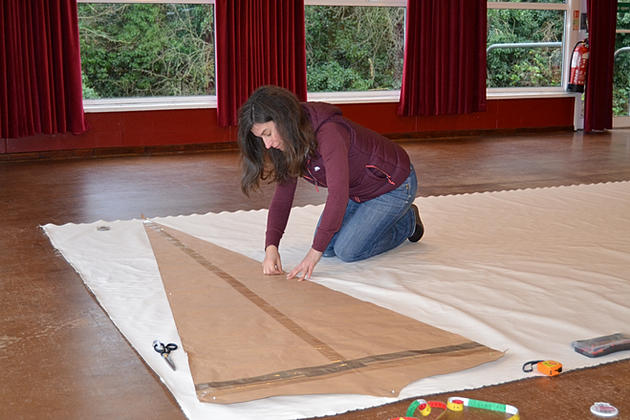
Marking the point of the roof panel to make the template for the reinforcing piece to attach the steel ring.

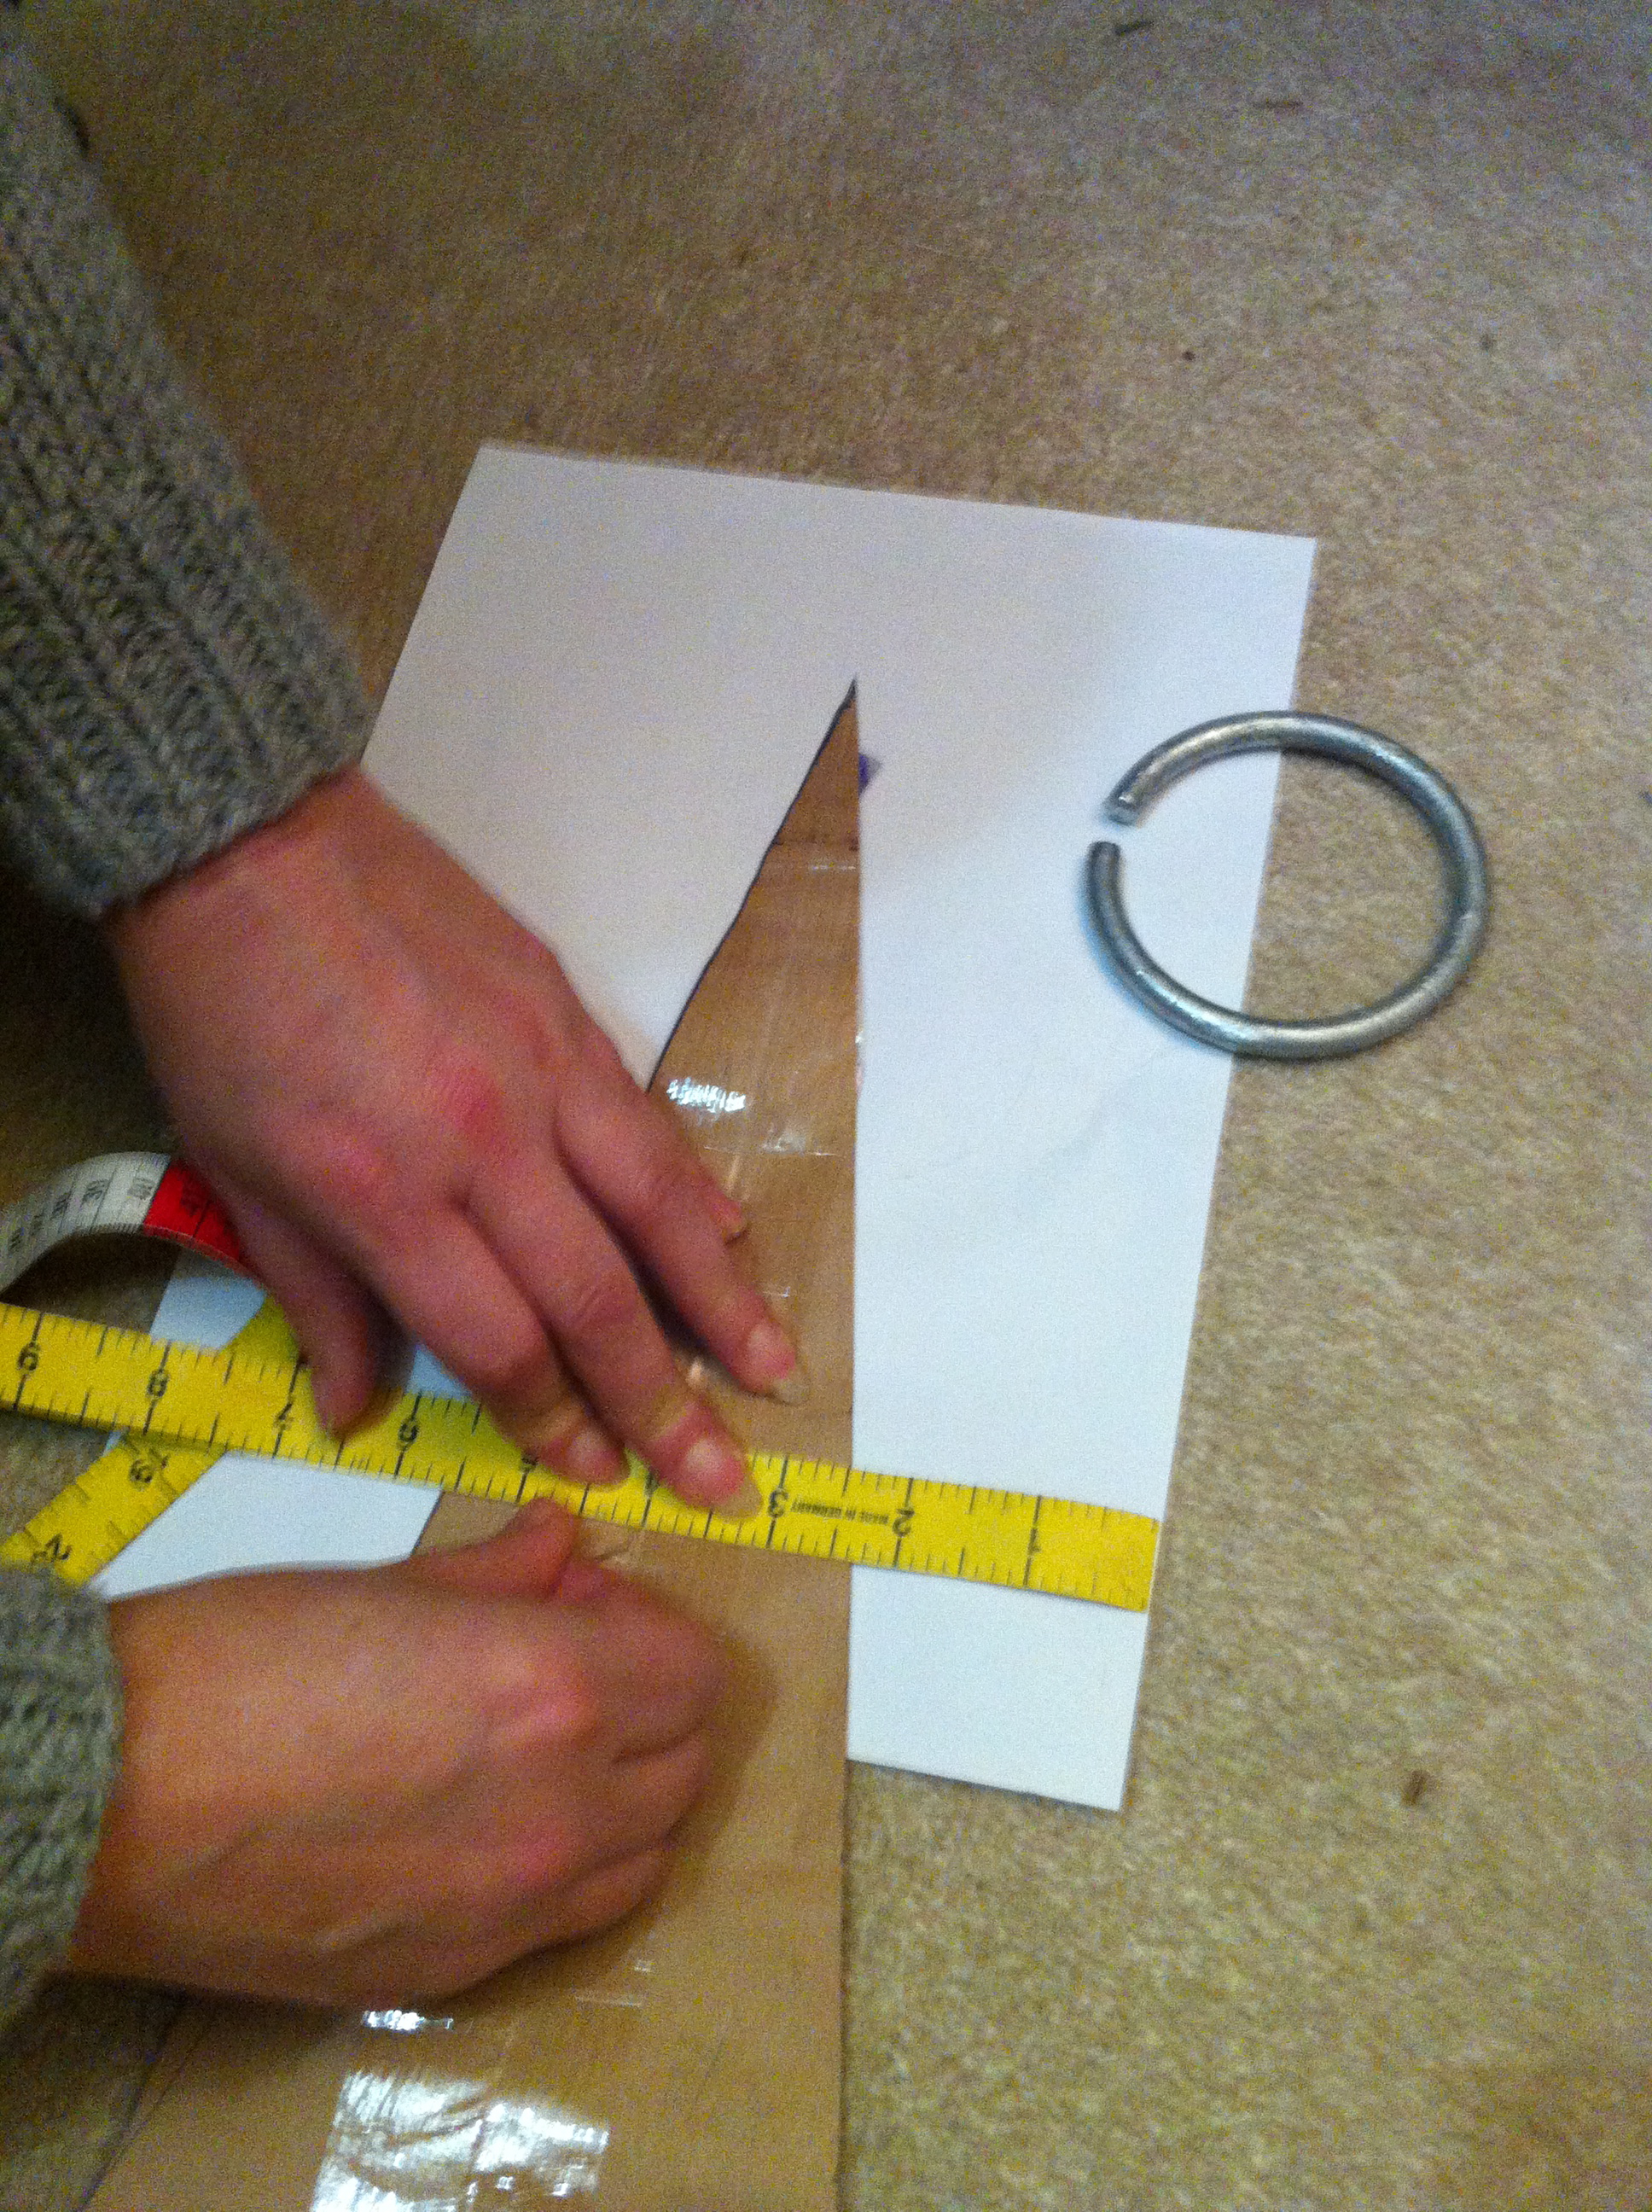
Pinning the roof template ready to cut out the reinforcing piece.

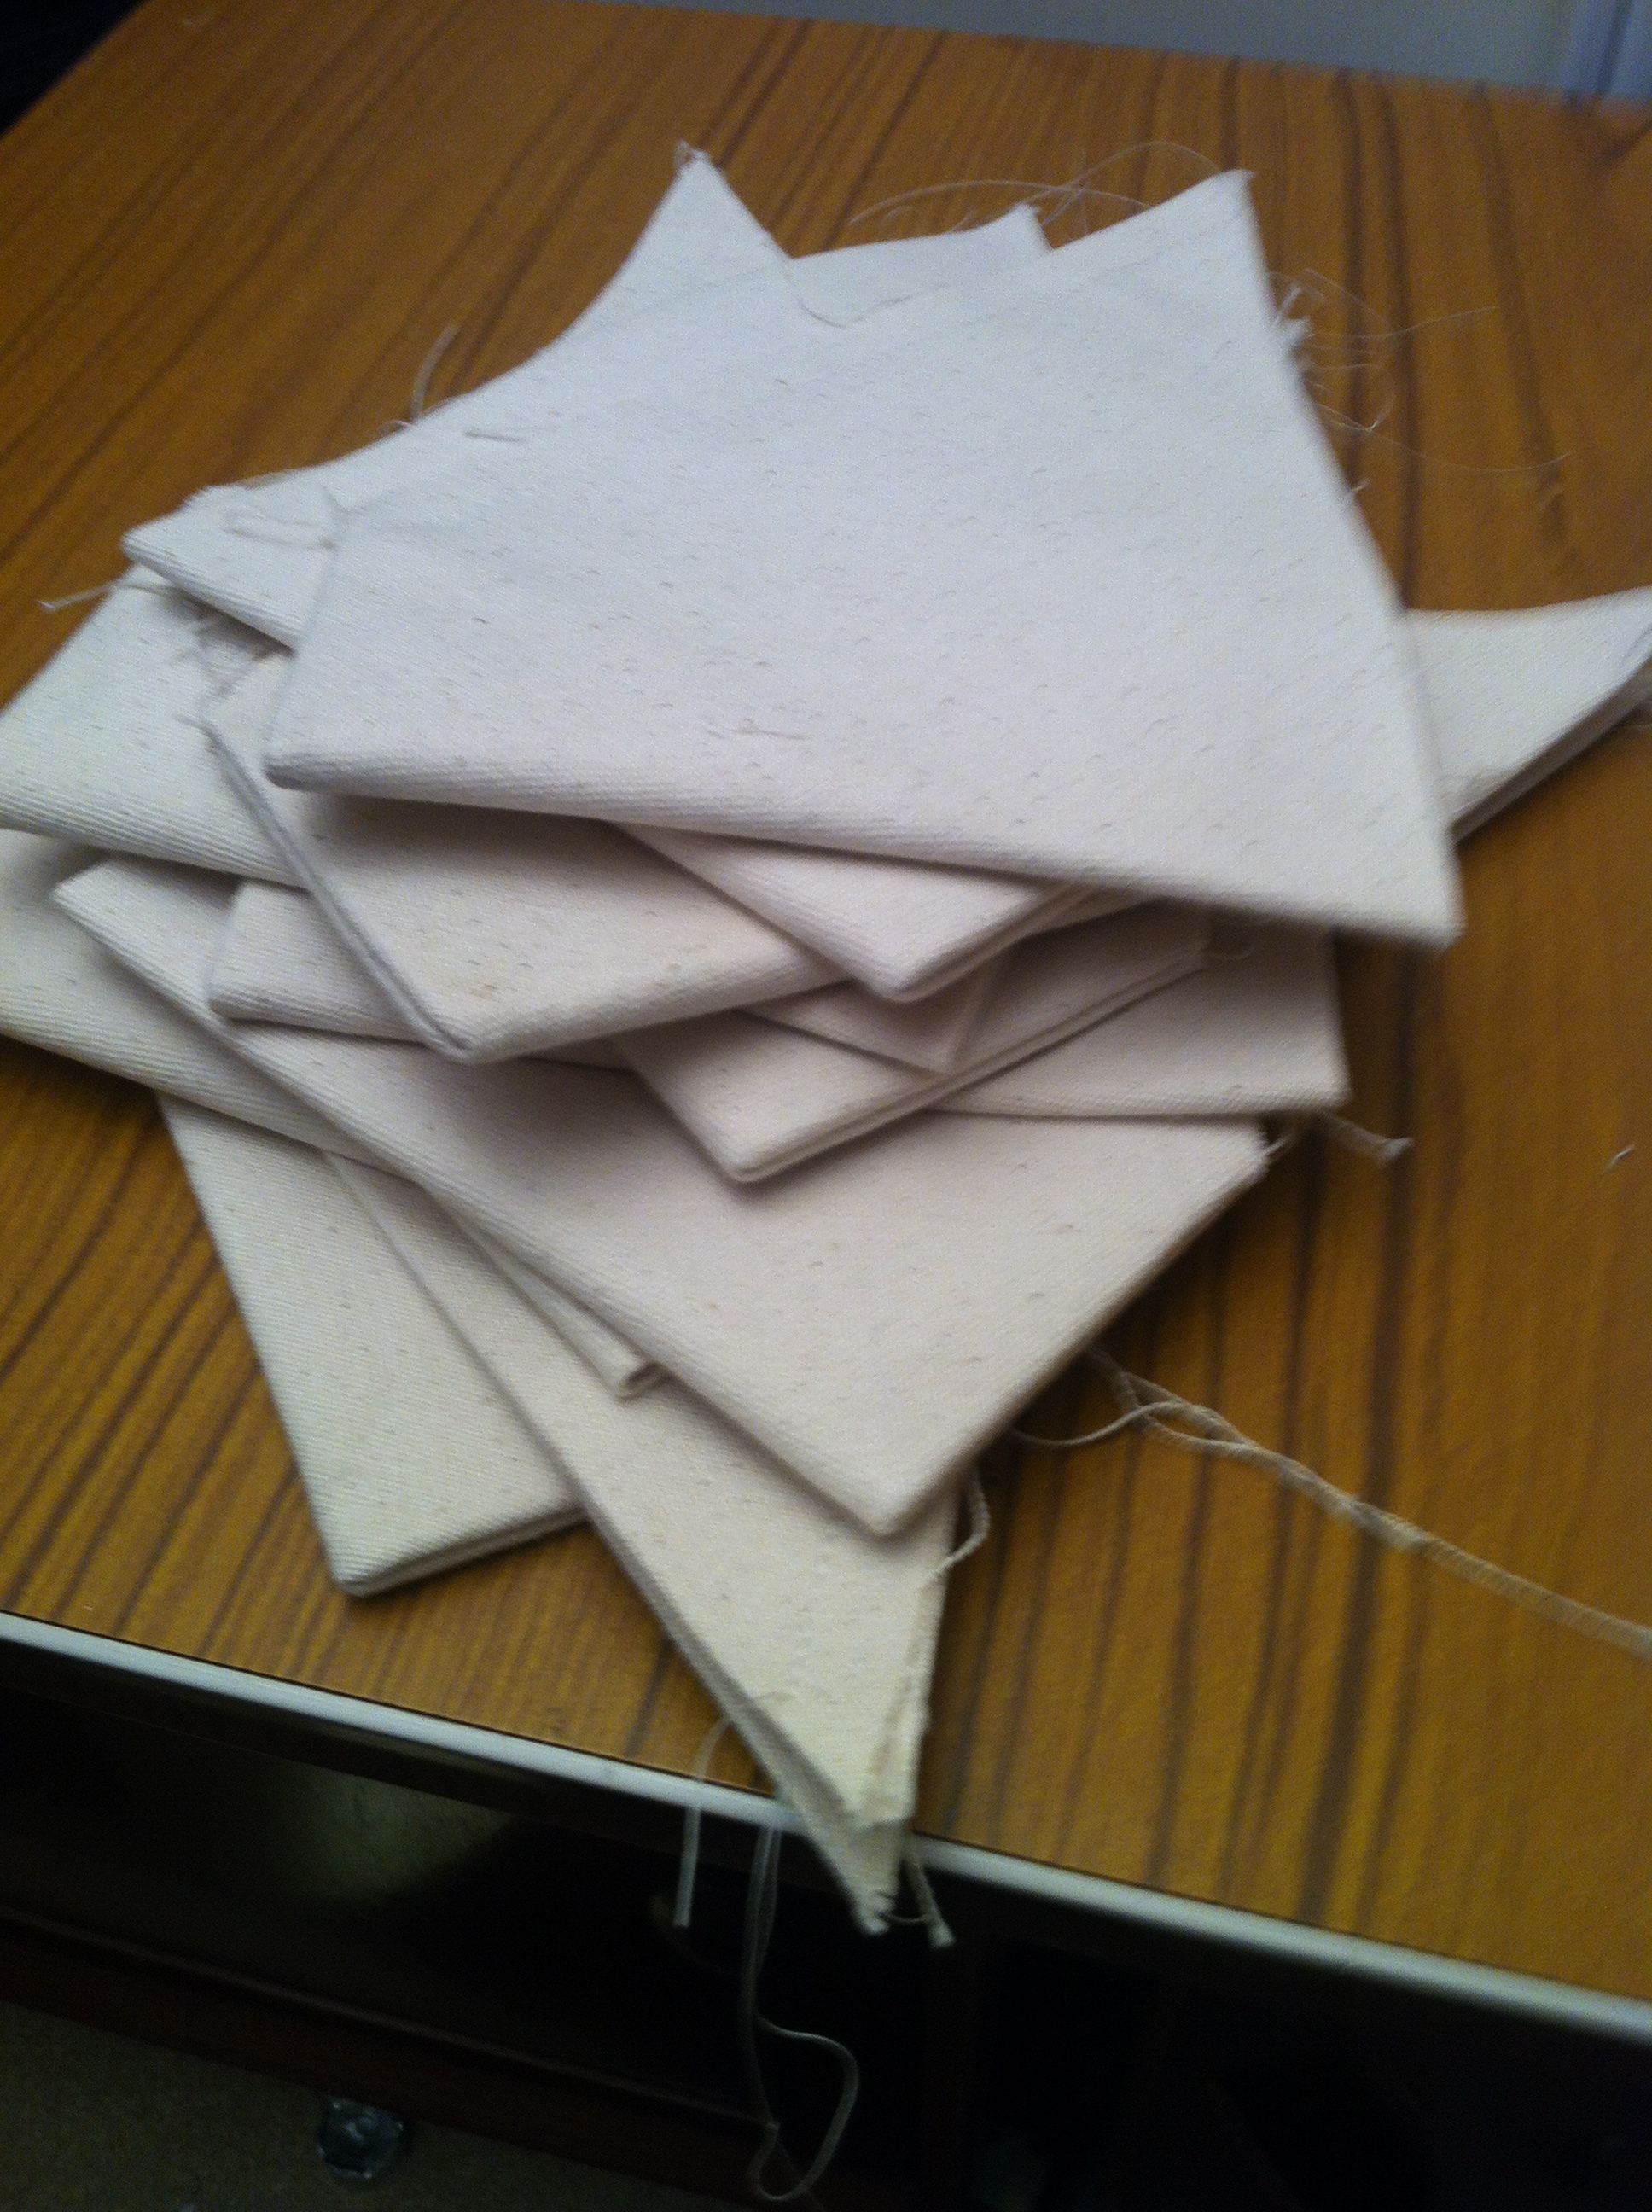
Once the template was cut out we marked twelve on off cuts of fabric ensuring that they all followed the weave in the canvas. A 25mm (1 inch) seam allowance was added to the sides with a 20mm (3/4 inch) seam applied to the curved edges top and bottom. These were set aside.
We are ready to construct the roof panels. Continue to follow our Blog to find out how we get on.

Friday 2 January 2015

Constructing the Roof Panels for our Medieval Tent

Constructing the Roof for a Medieval Tent.
January 2, 2015

Cutting Out The Roof Panels
Having made a paper template for our roof panel, we have calculated that we can fit each one in the full width of the fabric, reducing the amount of waste. We have selected a 12oz cotton canvas and measures 274cm wide.
It is important to take account of the weave in the fabric and to align the panels so that they follow the same direction of the knap. This will ensure that each panel will behave in the same way when put under pressure when constructed.  


Once we have carefully ensured that the template is square with the salvage edge of the fabric, it is pinned and marked onto the canvas. In order for each panel to be stitched together it is necessary to add a seam allowance. We have calculated this as 1inch or 2.5cm. A further seam allowance is added to the scalloped edge of 0.5inch (1.25cm). Once this has been drawn onto the fabric the template is flipped through 180 degrees and the 1inch seam allowance measured from this line. By doing this it is only necessary to cut once for two panels.


We mark four panels onto the cotton canvas in this way before cutting out.
After four and a half hours we ended up with twelve panels cut out of approximately 8.60 metres of fabric.