Constructing the Roof Panels for our Medieval Tent
Constructing the Roof for a Medieval Tent.
January 2, 2015
Cutting Out The Roof Panels
Having made a paper template for our roof panel, we have calculated that we can fit each one in the full width of the fabric, reducing the amount of waste. We have selected a 12oz cotton canvas and measures 274cm wide.
It is important to take account of the weave in the fabric and to align the panels so that they follow the same direction of the knap. This will ensure that each panel will behave in the same way when put under pressure when constructed.
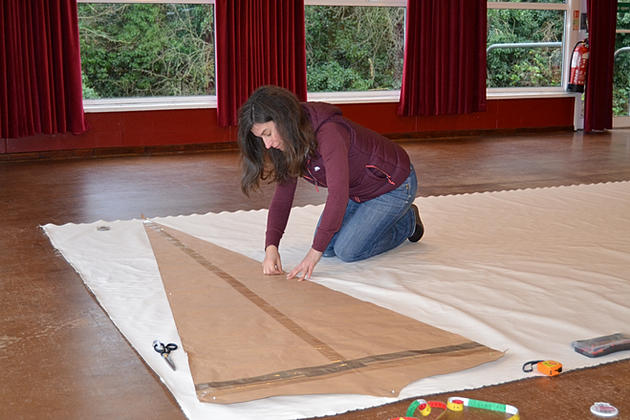
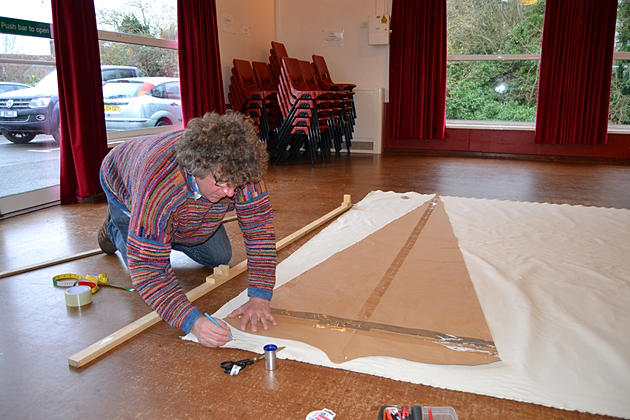
Once we have carefully ensured that the template is square with the salvage edge of the fabric, it is pinned and marked onto the canvas. In order for each panel to be stitched together it is necessary to add a seam allowance. We have calculated this as 1inch or 2.5cm. A further seam allowance is added to the scalloped edge of 0.5inch (1.25cm). Once this has been drawn onto the fabric the template is flipped through 180 degrees and the 1inch seam allowance measured from this line. By doing this it is only necessary to cut once for two panels.
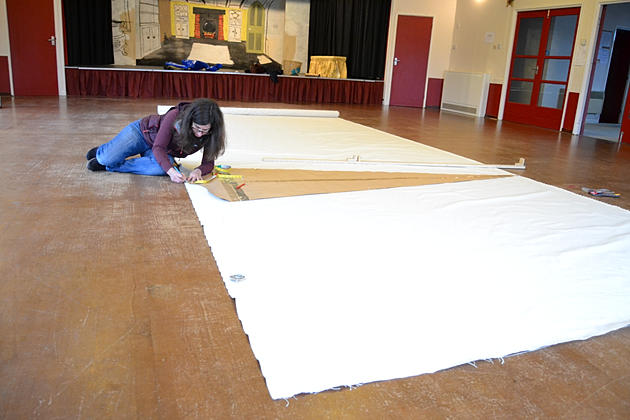
We mark four panels onto the cotton canvas in this way before cutting out.
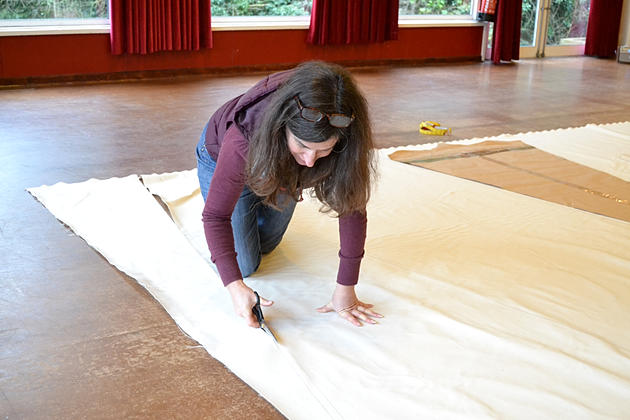
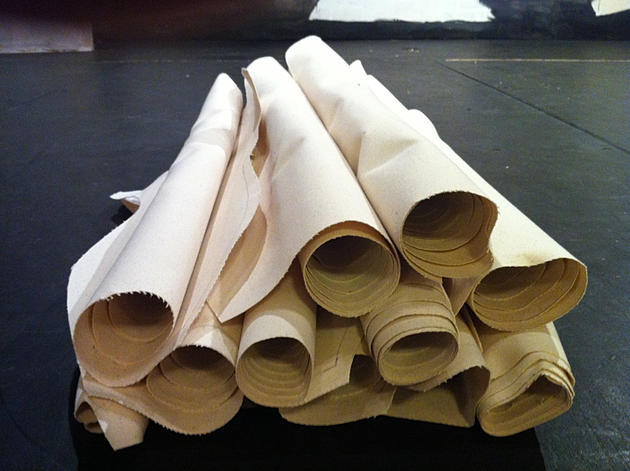
After four and a half hours we ended up with twelve panels cut out of approximately 8.60 metres of fabric.
posted by Unknown @ 03:16
0 Comments
![]()

0 Comments:
Post a Comment
Subscribe to Post Comments [Atom]
<< Home